Use trim nails that will penetrate at least 1 2 inch into the studs.
Securing wall paneling how far apart should nails be.
Some builders like to space fasteners tighter than that so they go down to 12 inches.
Nails should extend one inch into the studs through the furring strips for a good hold.
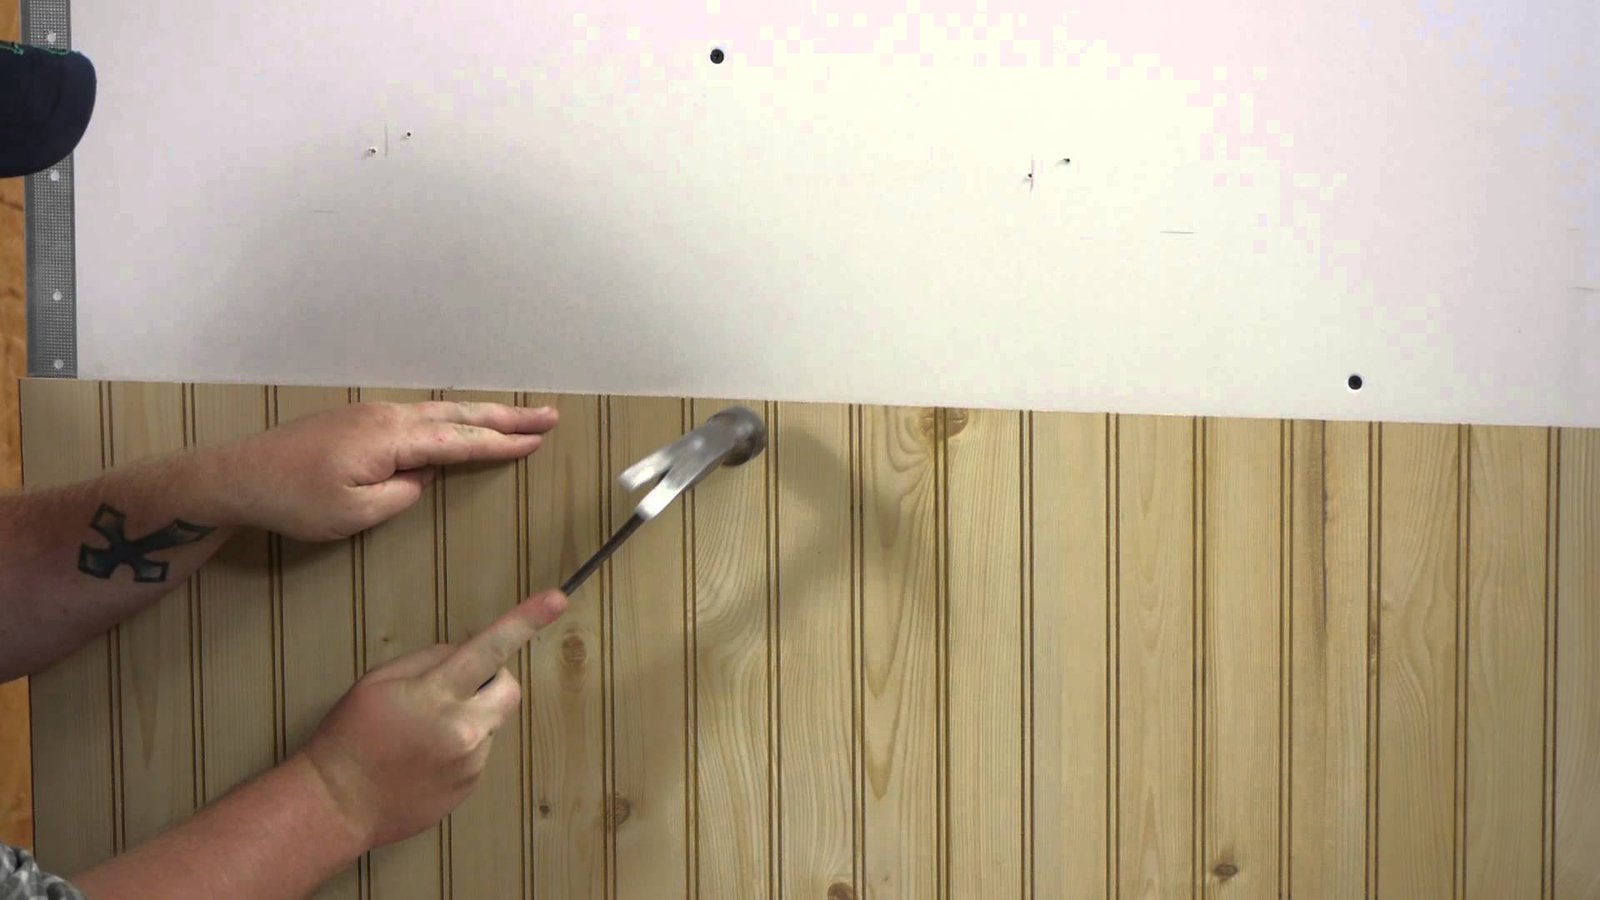
Drive the nails in at a slight angle to avoid splitting off the panel s tongue.
Test drive screws or nails to find the studs.
The field is considered a more stable area.
When installing on a framed wall make sure the studs are spaced properly either 16 inches or 24 inches apart.
When nailing very thin materials into wood a minimum of 1 2 of penetration is necessary.
Use a studfinder to locate the studs and nail into those so your panel is secure.
Use a masonry drill and masonry screws for masonry walls and nails for wood framed walls.
To choose the right sized nail add to that 1 2 inch the thickness of the drywall usually 1 2inch and the thickness of the trim board.
Continue until all walls are covered and all moulding is attached.
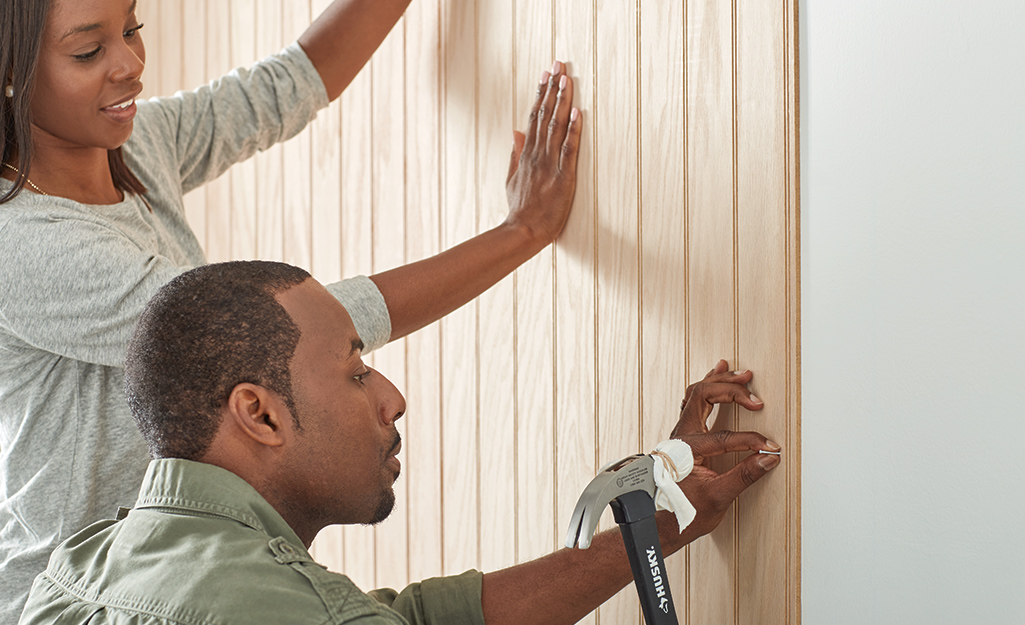
While a partner holds the panel use finishing nails to attach it to the wall.
If you want to hold 1 2 drywall to a stud wall the length of the nails should be at least 1 1 2.
Generally the nails are no longer than 1 inch but if they will be going through drywall increase the nail length to 1 5 8 inches.
This is a reasonable guide most of the time.
The flush set of the appropriately colored nail head will blend in with the darker seam color of the panel.
Plywood paneling is anchored into wooden wall studs using colored paneling nails also called finishing nails or brads driven inside the darker seams of the paneling.
For example if you are working with tongue and groove paneling that aligns with the studs in your wall you can nail each panel into the wall right above the tongue.
Repeat across the length of the top of the wall then move to.
Space anchors about 8 to 10 inches apart.
Both the international residential code irc and usg the manufacturer of sheetrock say that maximum field screw spacing for wall drywall is 16 inches.
Consult your building plans and snap a chalk line to outline the area for the stud wall with pair of lines parallel and 3 1 2 inches apart.
Pound the nails in with a hammer and then tap them in flush with a nail set.
For this approach the nail head is covered making it possible to use a greater variety of nail types.